|
|
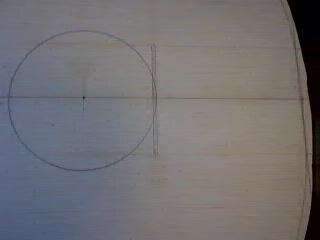
Before we get started there are a few things that we need to know. We need to decide on the scale length, location of the 12th fret, soundhole diameter, and the use of a split or solid 19th fret. For our example we will be using a 25.700" (652.78mm) scale length, the 12th fret will meet at the neck/body joint, 3.375" diameter soundhole, and a split 19th fret.
Start by drawing a line at where you want your 12th fret. Then calculate the distance for your 19th fret and draw another line. From the centerline of the 19th fret we are going to draw two lines, one to the left the other to the right that is half the width of your fret wire. In this case .042" or .084" total. This will represent our 19th fret.
|
|

|
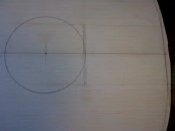
Our soundhole diameter is 3.375". We now take a compass and set it for the radius which is 1.6875". Place the drawing end at the place where you want the 19th fret to be split, then place the pivot point on the centerline of the soundboard and draw the circle that will represent the sound hole. |
|
|
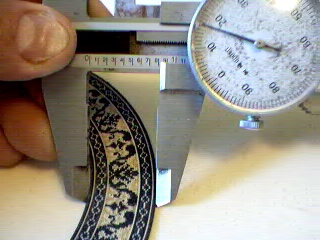
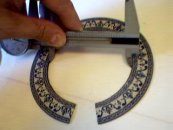
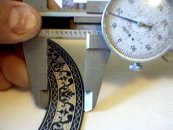
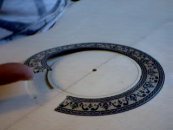
Now we measure the inside diameter of the rosette. Do this in several different places since rosettes are never 100% accurate. Average your results. In this case we have an average inner diameter of 3.615", or a 1.8075" radius. |
|
|
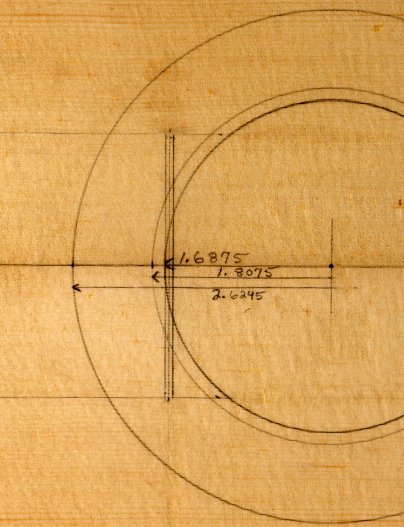
Measure the width of the rosette in several different places and average the readings. In this case we have .817". Add that to the inner diameter radius and we have 2.6245" outer radius, or 5.249"outer diameter. |
|

|
Add these measurements to our layout lines on the soundboard and draw the inner and outer diameters of the rosette |
|
|
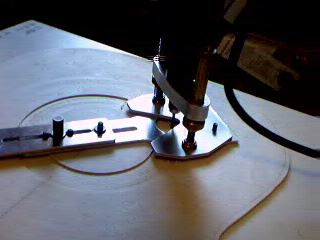
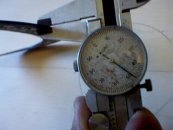
Here comes the fun part! It's time to rout out the channel for our rosette. But before we do that we need to calculate the depth of our channel. Use your caliper and measure the thickness of the rosette in several different places and average the results. For this rosette we have .048".
I like to make the depth of the channel about .004" more then the thickness of the rosette to allow for swelling of the wood once the glue is applied. Use scrap wood to check the depth of cut of your router. |
|
|
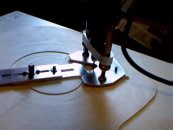
Start by routing slightly inside the layout lines. When your close check the fit. Gradually remove about .001", yes .001", from each edge of the channel until the fit is perfect. Take your time and be patient. It takes me about 8-10 passes because I use a .125" diameter bit. |
|
|
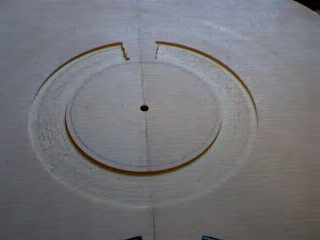
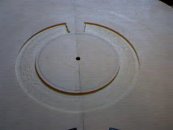
Here is the finished channel. |
|
|
Test the fit. If all is well procede to gluing the rosette into the channel. |
|
|
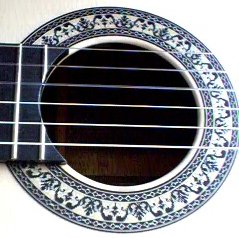
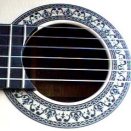
Here is the rosette in the finished instrument. |