Before the rosette is made you need to have a design drawn out on graph paper or use a computer program. Now that I have a computer I like to use the "paint" program that comes with Windows 98 to design my rosettes, but for now let's use some graph paper.
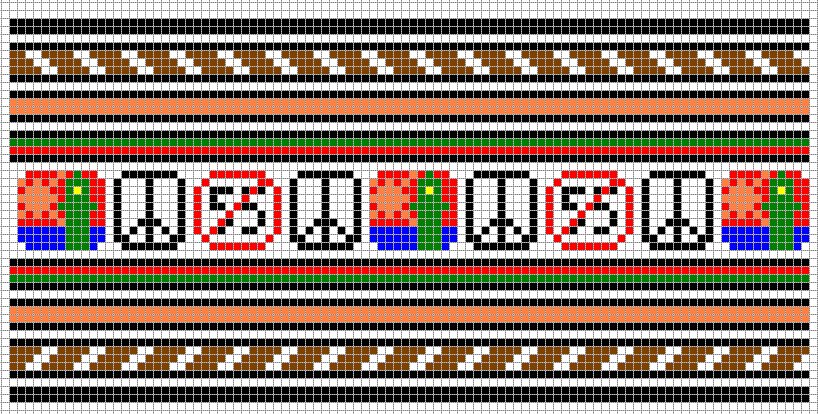
Here is an example of a recent rosette tile I recreated for a client who wanted a replica of a 1959 Ramirez rosette. I use numbers for the columns and letters for the rows. The dotted line is the point at which everything is repeated so I do not have to duplicate those columns. I only need to make columns 1 thru 8. Columns 9 thru 14 are just repeats of 2 thru 7.
 Rosette graph (46K)
Veneers are now cut to a thickness of .023", 1/2" wide, and 3" long. They are cut and seperated into columns. For example column 1 = A thru F, H thru L, and N thru S are white. G and M are black.
 Rosette graph and veneers (34K)
Each column is glued up at the same time with epoxy. The epoxy does not cause the veneers to expand. Waterbased glues will cause the stack of veneers to expand as much as .010+ of an inch! The veneers must be within .001 of an inch total otherwise the whole pattern will be off. Spacers are used so that all the columns are the same height. Clamping pressure must be even as well. Here is how they are glued up.
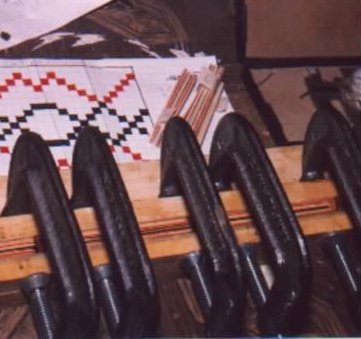 Columns being glued (25K)
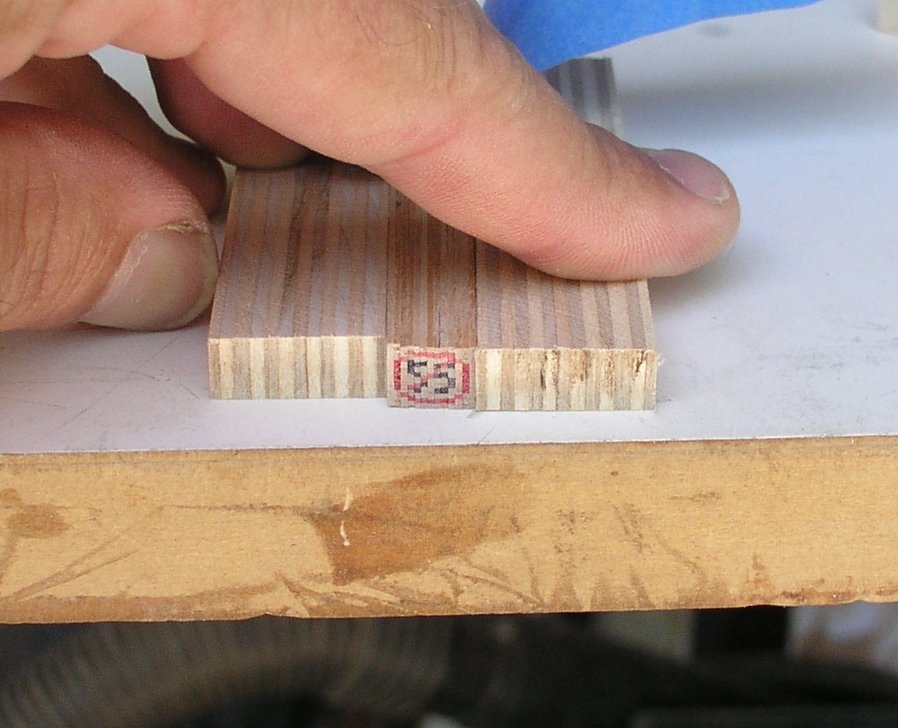
Here's a close up:
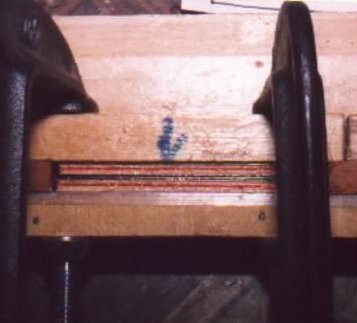 Close up (18K)
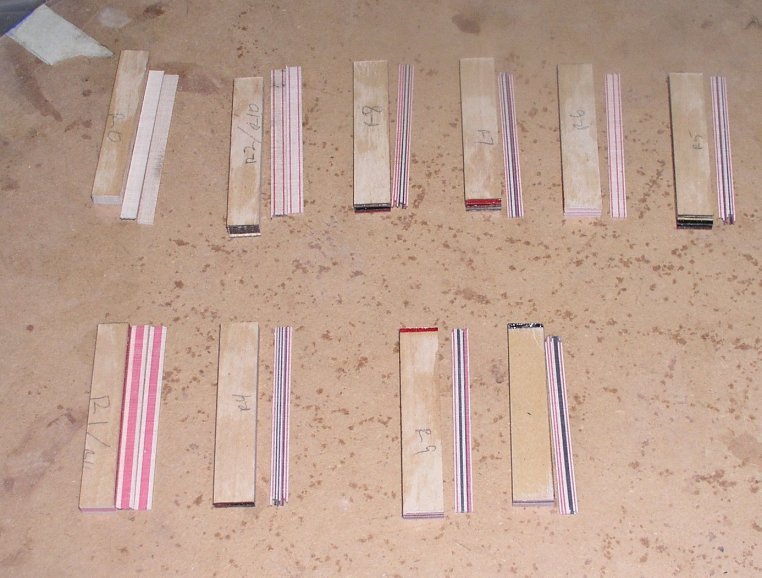
We now have logs made for each column. Each log is sliced up and thicknessed to .025". They are then tapered slightly which finds their total thickness to be about .023" at the top of the column and .021"-.022" at the bottom.
Here is what each column looks like when they are laid out in order:
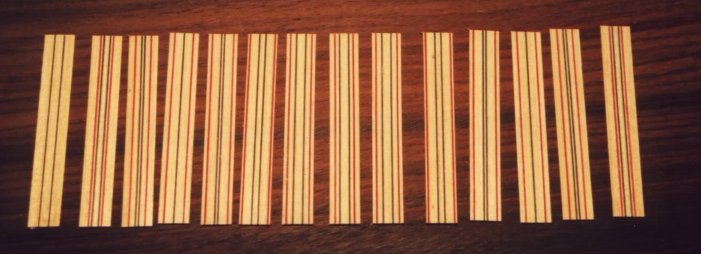 Columns lined up (14K)
 Testing to see that the rows line up before gluing (10K)
The columns are now put into a special jig and glued up once again with epoxy. This new log will be the one that the rosette tiles are cut off of.
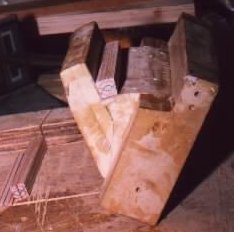 Clamping jig (12K)
 Rosette log being glued up (27K)
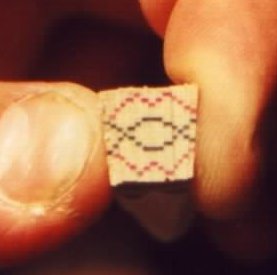
Slices are cut off of the log and inlaid into the soundboard.
 Slices off of the log (14K)
Here is a collection of some of the rosette tiles that I have made:
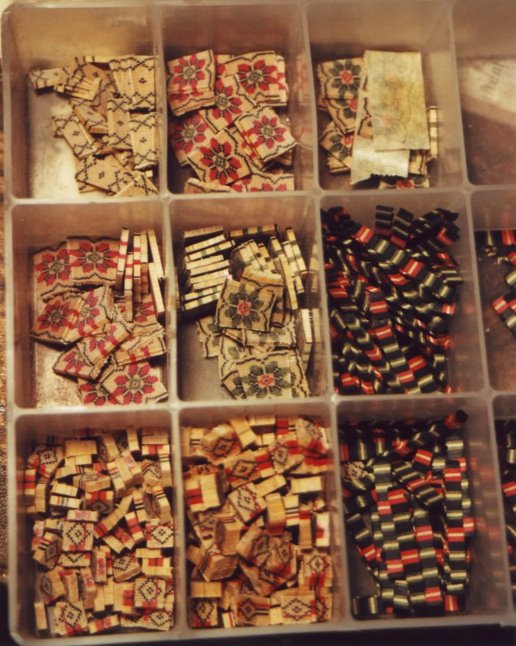 Collection of rosette tiles (88K)
Here is the finished rosette:
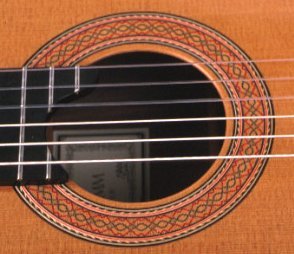 1959 Ramirez rosette replica by Dave Schramm (21K)
The End.
This is the construction process for the rosette I designed for Sammy Hagar's guitar:
|
|
Rosette Idea. |
|
|
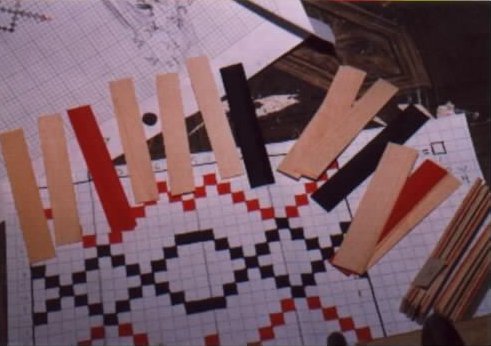
Now that I've decided on the rosette design it is time to get to work. The central mosaic tiles are made of dyed wooded veneers. In this photo I've cut the veneer strips. |
|
|
The veneer strips have just been run through my home made thickness sander so they are all the same thickness. |
|
|
The 3/4" wide strips are now cut into 3" long pieces and are arranged by color and order of each vertical column of each rosette tile theme. |
|
|
In this photo the "I Can't Drive 55!" tile theme is being glued up by columns. |
|
|
Columns are cut off the logs. |
|
|
Stacked up in order and you get a complete tile. |
|
|
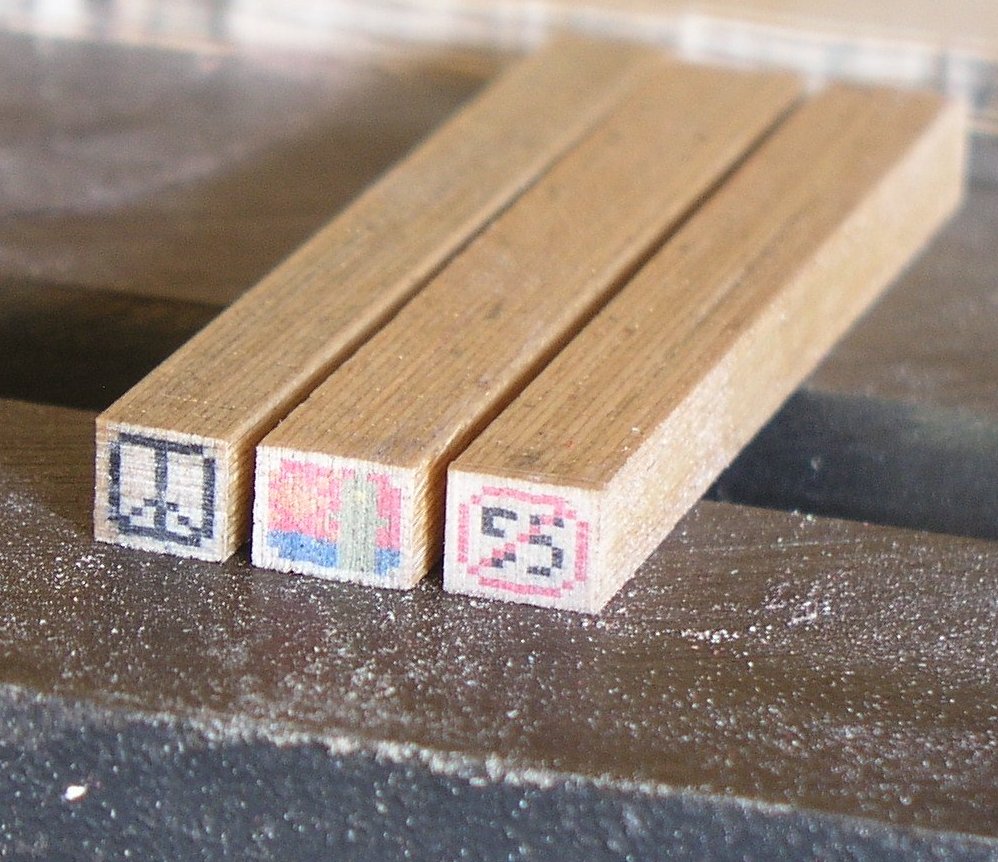
All three themes glued up! Chickenfoot-Cabo Wabo-I Can't Drive 55. |
|
|
Individual tiles sawn off the log. |
|
|
Inspiration for the "Cabo Wabo" tile. |
|
|
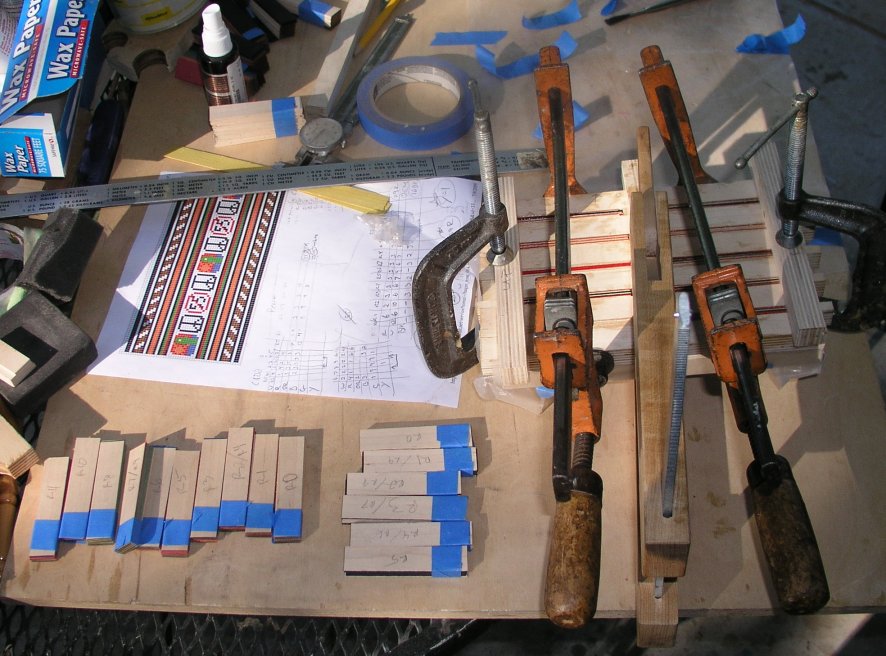
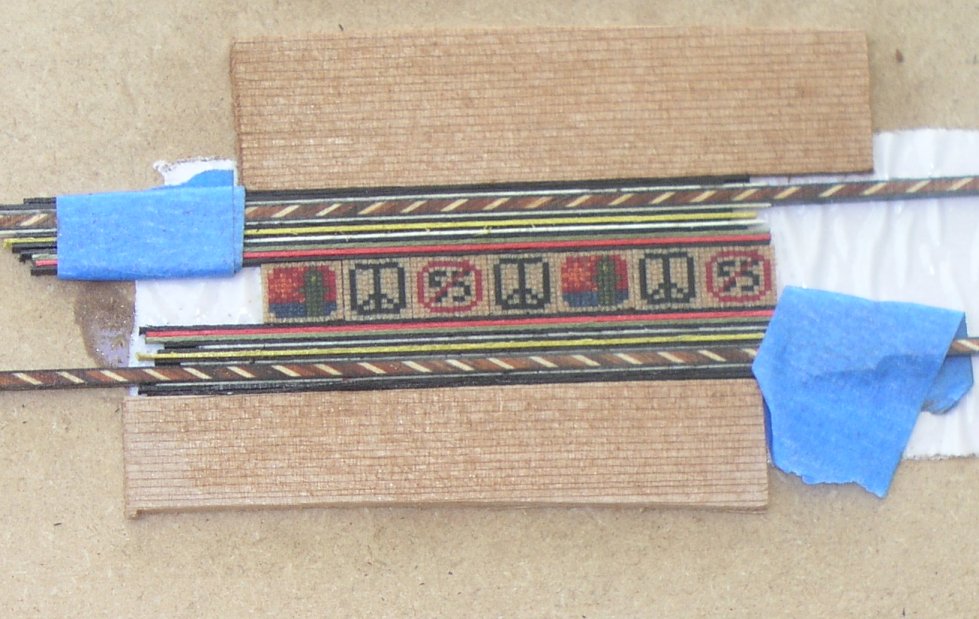
Measuring to make sure I have enough tiles! |
|
|
Rosette mock-up. I'll return to the rosette later. |
|
|
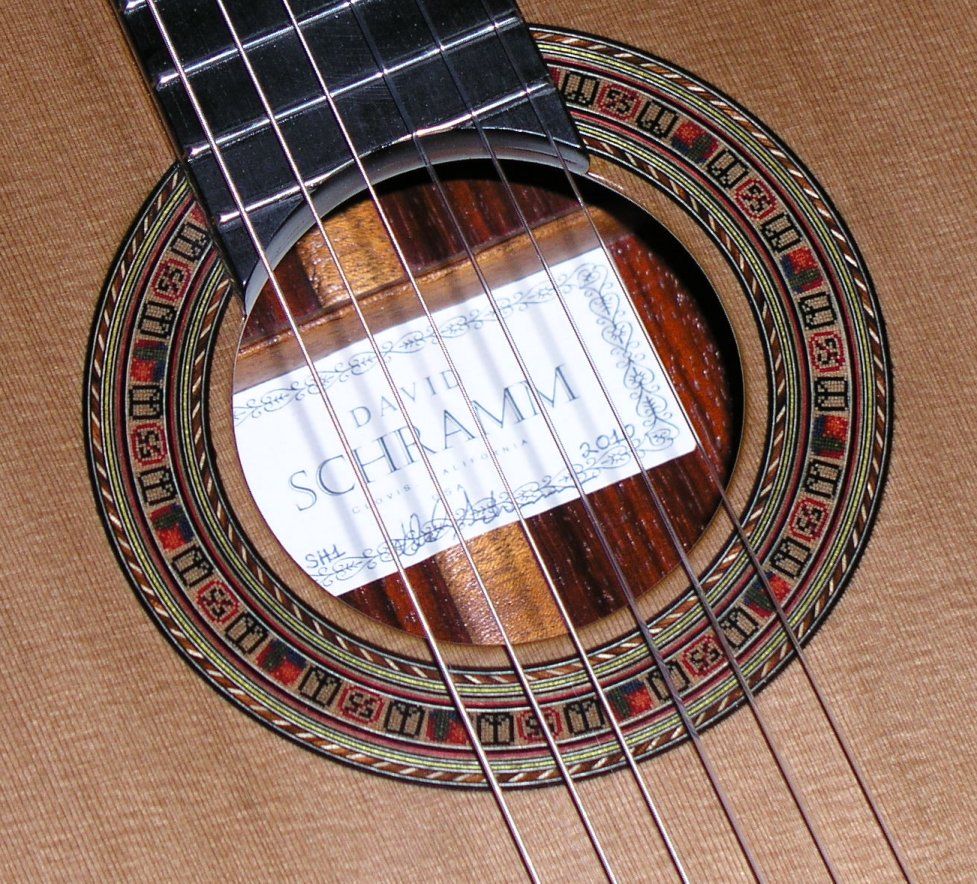
Rosette inlaid. |
|
|
Unique one-of-a-kind rosette made with dyed veneers, brazilian rosewood(brown) and maple(white) veneers. |